Applying a sunless tan is by far the healthiest and safest way to give your skin a hint—or more—of a glow. But, getting that tan can seem tricky, and the self-tanning worries can pile up. Will I have orange hands? Am I going to look streaky? How can I apply self-tanner to my face and still look natural? How do I find one that matches my skin tone? Or even, how to use self-tanner at all?
We know going sunless can seem daunting, but we’re here to help you develop a foolproof routine to make sure you’re a glowing self-tanning success. Read on to get all the details you need to feel like a pro before you even pick up your tanning mitt.
What to Know Before Applying Self-Tanner
First of all, don’t panic. Sunless tanner is, after all, temporary. If you end up with a streak or a blotch—don’t worry! Practice makes perfect, especially when it comes to self-tanning. But, having a detailed step-by-step guide (like this one!) and well-formulated products help prevent most sunless mess-ups.
With that in mind, let’s get glowing.
Step-by-Step Guide: How to Apply Self-Tanner
Step One: Exfoliate
The key to unlocking your most streak-free sunless tan starts here—with well-exfoliated skin. Right before you plan to apply your self-tanner, make sure you shower and exfoliate with a plain washcloth or an exfoliating mitt. Be thorough and exfoliate well. Use overlapping small circles as you pass over your skin, keeping a specific focus on any dry or rough spots that may hold onto excess tanner, like elbows, knees, ankles, and the tops of your feet.
Once you’ve achieved a smooth surface, towel dry yourself fully. Leaving any damp areas could affect the evenness of your tan, so make sure you’re completely dry.
Step Two: Hydrate
You're almost ready to start application, but first, let’s revisit those areas that like to absorb more of your self-tanner—your feet, ankles, knees, elbows, and hands. Apply a layer of moisturizer to these areas and allow it to soak into your skin for a minute or so, removing any dry areas and dead skin.
Step Three: Apply
Now, it’s time to tan. Use an application mitt to apply your self tanning product starting with your legs and working your way up. Again, use small, overlapping circles to work t the product onto your skin.
- If you’re using a self tanning mousse or a lotion, add the product onto your mitt first, and then apply.
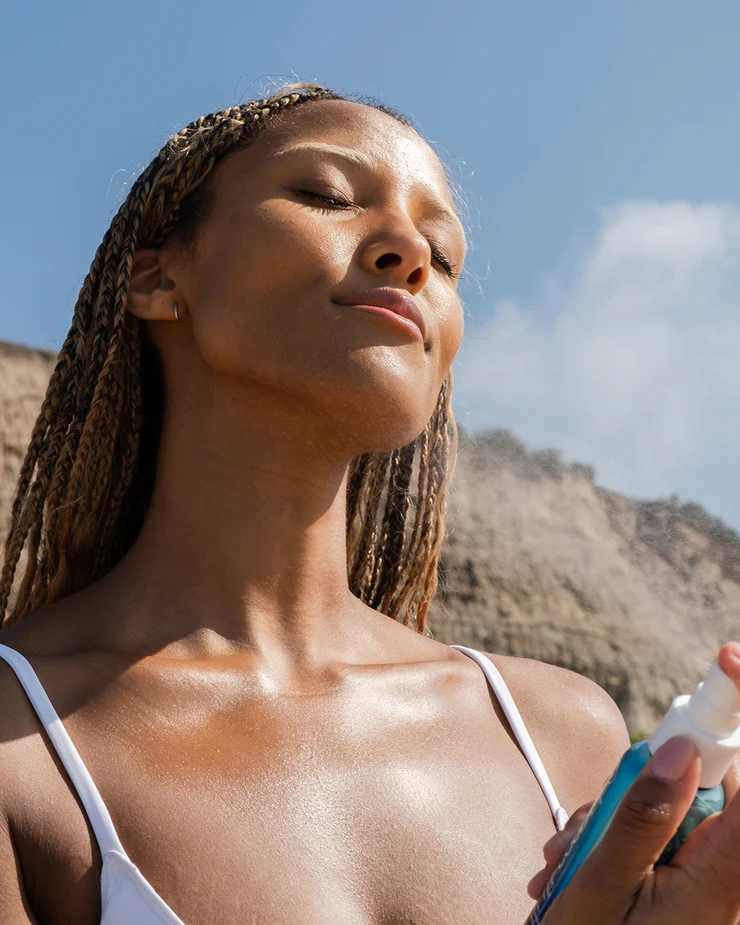
- If you’re using a self tanning mist, spray directly onto your skin, then blend out with your mitt.
Step Four: Hydrate (Again)
After you’ve finished applying your glow, it’s time for one more round of lotion on those finicky spots of your skin we’ve mentioned a few times: your knees and elbows. This may seem over the top, but it really helps to keep your tan even and blotch-free, and gets rid of dead skin cells.
You can skip your feet and hands for now. You’ll get your glow there in just a few minutes.
Pro Tips for a Flawless Self-Tan
Work from bottom to top to prevent creases and streaks
As you start your sunless tan application, begin at your ankles, not your feet. (Don’t worry. We’ll get to those soon.)
Work your way up your legs, then apply your tan to your torso, front and back. Finish with your arms, stopping at your wrists. Now, it's finally time to get to the places we skipped—your hands, feet, and face.
Take your time on the tougher spots
Sure, it’s easiest to apply your tanner to your entire body and move on, but if you tackle the following areas after your first pass, we promise the glowy payoff is worth it!
How to apply self-tanner to your feet
You’ve applied your sunless tan to your ankles. Now, take your lotion and start rubbing it into your ankles in small circles, working the lotion down to the top of your foot and your toes. This will give your feet a touch of the tanning product without concentrating too much tanner in this super-absorbent area.
How to apply self-tanner to your face
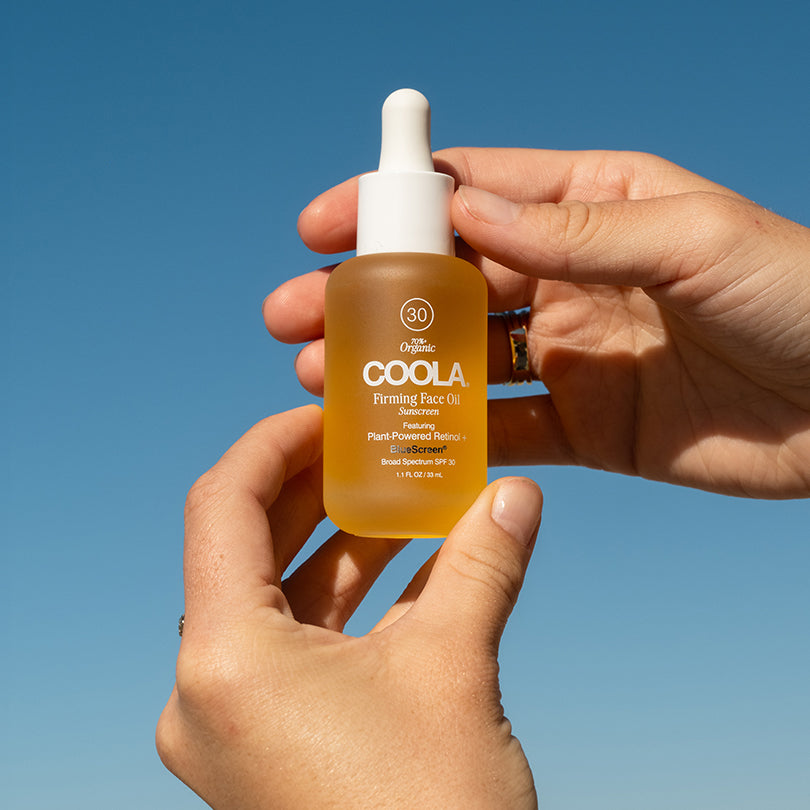
You can always apply your regular self tanner to your face, but your result (and skincare benefits) can be maximized by using sunless products specifically created for faces, like our Organic Sunless Tan Anti-Aging Face Serum. This product is not only formulated to give you a gradual glow but also contains skincare ingredients to provide skin-protecting benefits. It’s a win-win.
How to apply self-tanner to your hands
Now, it’s time to tan the trickiest place to achieve a natural-looking glow—your hands. Start by washing your hands. Reapply lotion to your hands and wrists, then wipe off your palms and around your nails with a wet cloth. You’re ready to apply!
There are a couple of ways to tackle this area:
- Use a tiny bit (seriously, keep it small) of your regular sunless tanner on a makeup brush and buff it all over the tops of your hands, wrists, and fingers, avoiding your nails.
- Or, use a mist, like our Organic Sunless Tan Dry Oil Mist, and spritz a light application over hands and wrists. You can also buff out with a makeup brush for this method.
Tip: Make sure you bend your fingers a bit as you apply to get your tanner into every crease and crevasse.
Stay dry for the next few hours
Congratulations! You’re now completely and, even more importantly, safely tanned. To ensure you don’t compromise your new glow, make sure to stay completely dry for the next few hours. No doing dishes, working up a sweat, or being in a damp location like a post-shower bathroom.
Wear loose-fitting clothes
You’ll also want to avoid wearing anything form-fitting, to steer clear of any marks, creases, or rubbing on your new tan. The looser the clothes, the better!
Common Self-Tanning Mistakes to Avoid
Using your bare hands
As tempting as it may be for you to just apply your tan with your bare hands, it’s not the best idea. A tanning mitt will give you a smooth, streak-free finish without the danger of staining your palms.
Not washing your hands after application
Speaking of hands, don't skip washing them before applying tanner to the backs. When you’re working in your post-tan lotion in Step Four, you’re getting self-tanner on the palms of your hands. If you forget to wash it off, you risk falling victim to the number one tanning faux pas—the dreaded orange palms.
Not considering the time of day
The best time to apply your sunless tan is before bed. Why? You’re less likely to get sweaty and you can wear something loose and comfortable to allow your new glow to fully set and process.
Still nervous about taking the sunless plunge? Try tanning the hassle-free way. Take it slow and use gradual self-tanners like our Organic Gradual Sunless Tan Firming Lotion or Organic Sunless Tan Luminizing Body Serum.


